Getting Started
Manage Targets
Manage Scans
Manage Organizations
Organization Settings
Plans
On Prem
Quick Scan Guide
When you log in to the ZeroThreat application for the first time, click on Scan the Target field on dashboard.
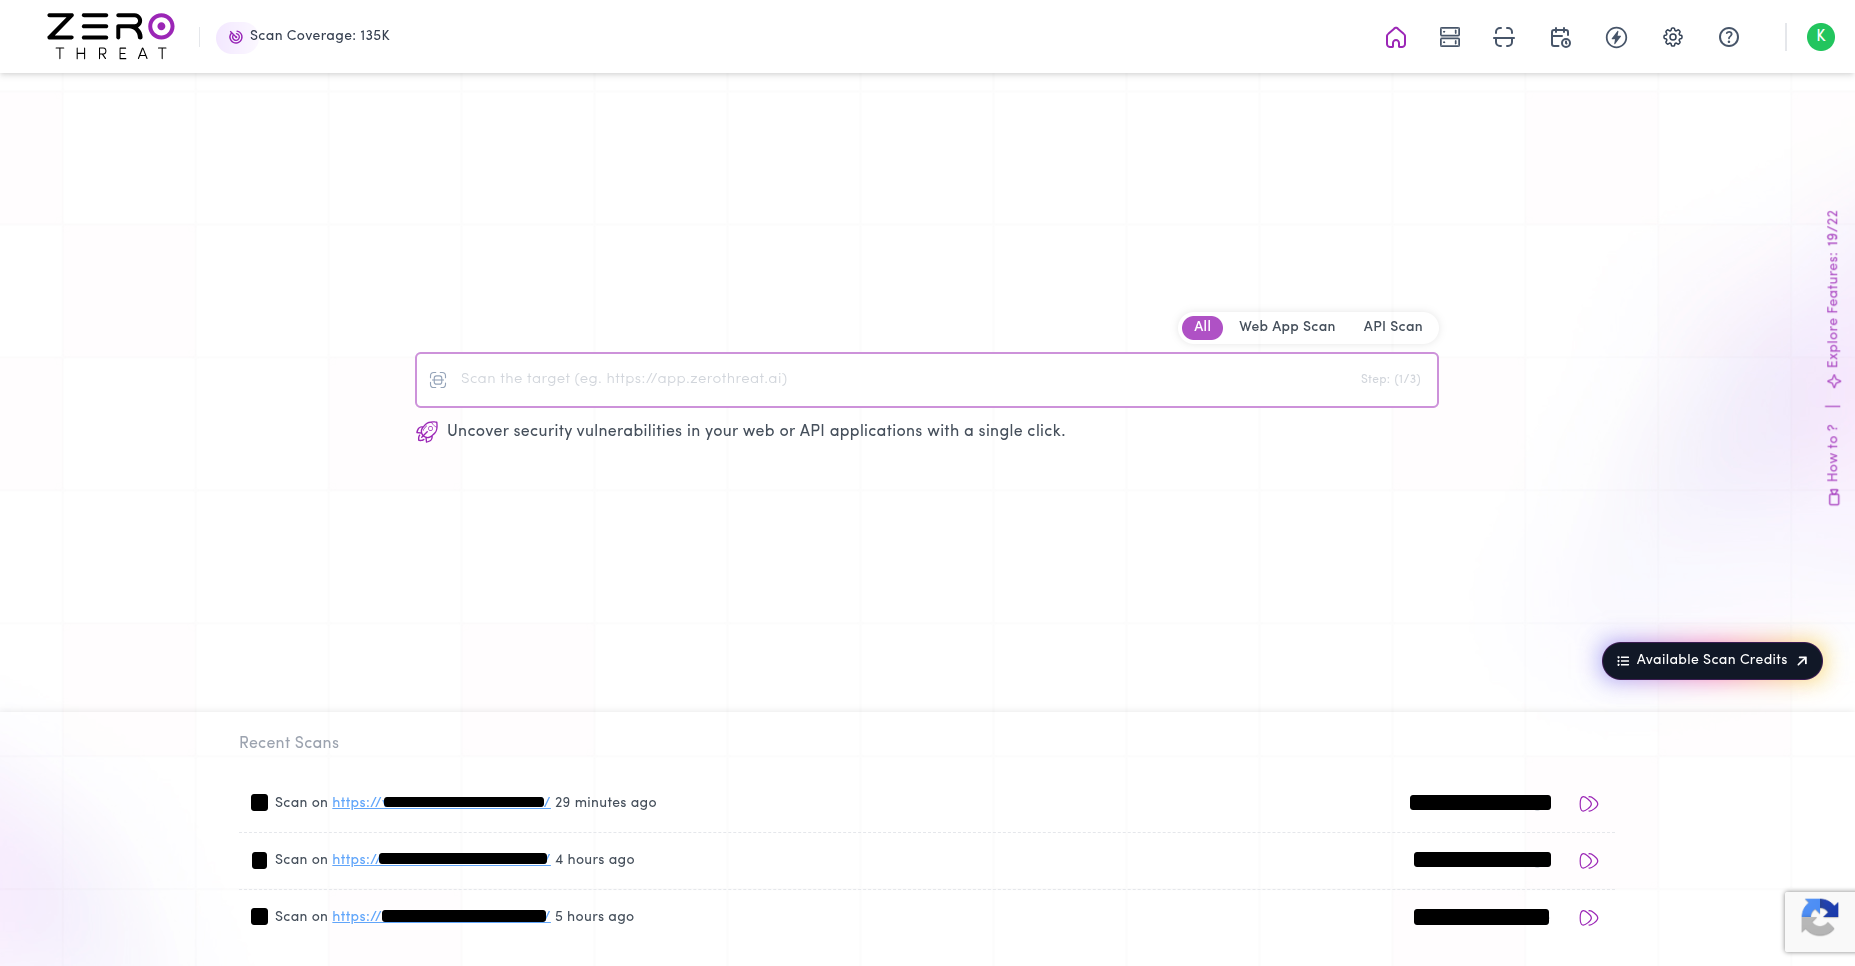
Here, you'll see a section that lists all the requirements needed to set up your scan.
If you’ve already installed the Chrome extension and added a target, feel free to skip the upcoming steps and jump straight to how-to-perform-a-quick-scan-on-a-target
Prerequisites
The following popup will open if you don't meet the requirements.
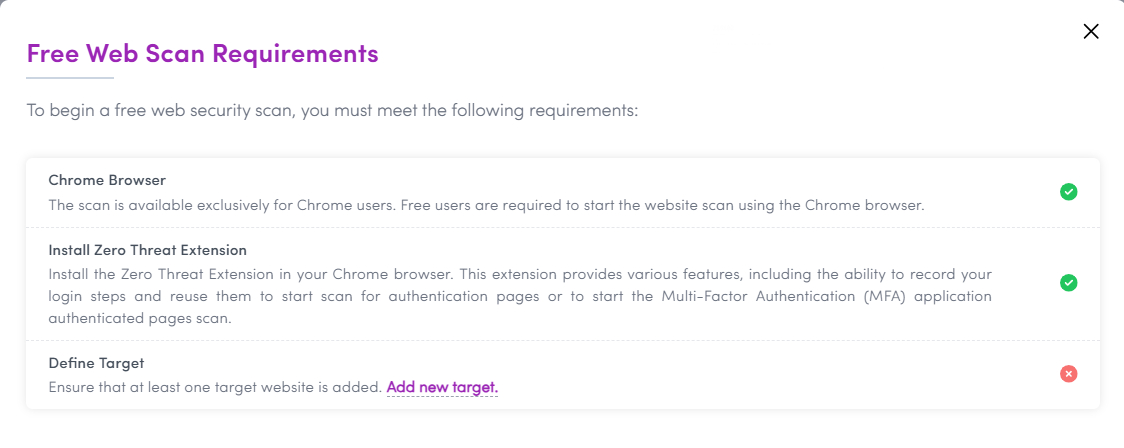
- Chrome Browser
The Chrome browser is the most basic requirement for using ZeroThreat, as it is needed to run any scans within the platform. - ZeroThreat Chrome Extension
Download and install the ZeroThreat Chrome Extension to enable advanced scanning capabilities.
ZeroThreat Chrome Extension will enable you to scan pages beyond authentication like MFA, SSO, CAPTCHA and more. Find out more in Authenticated Scan guides.
- Add a Target
Set up the web application or target you want to scan. Follow the steps in the next section if you haven’t already added a target.
How to add a target?
- Click on the Add new target button(
 ) in the Web Scans requirement popup.
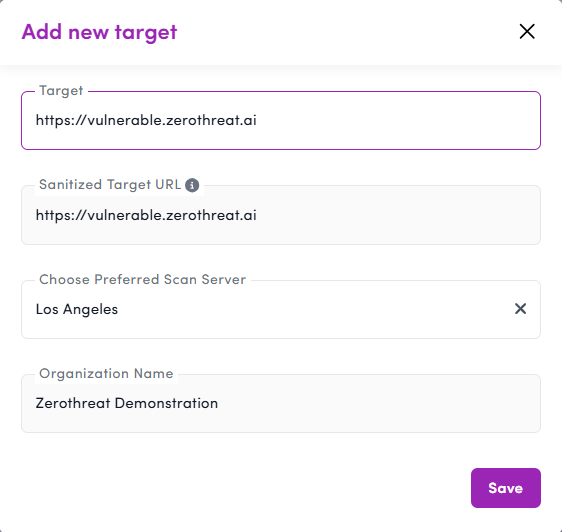
- Add a Target:
- Enter the URL of the web application or website you want to add as a target in the provided input field.
- Choose a Scanning Server:
- Choose a scanning server from the drop-down menu to specify which server will scan this target.
- Choose an Organization name:
- Choose an organization name from your created organizations, this is where the target and its scan results will be stored. Click on Save.
Next you will need to verify your target ownership. Refer to Target Verification guide for detailed information.
Once done, make any Target Configurations (if required) before scanning.
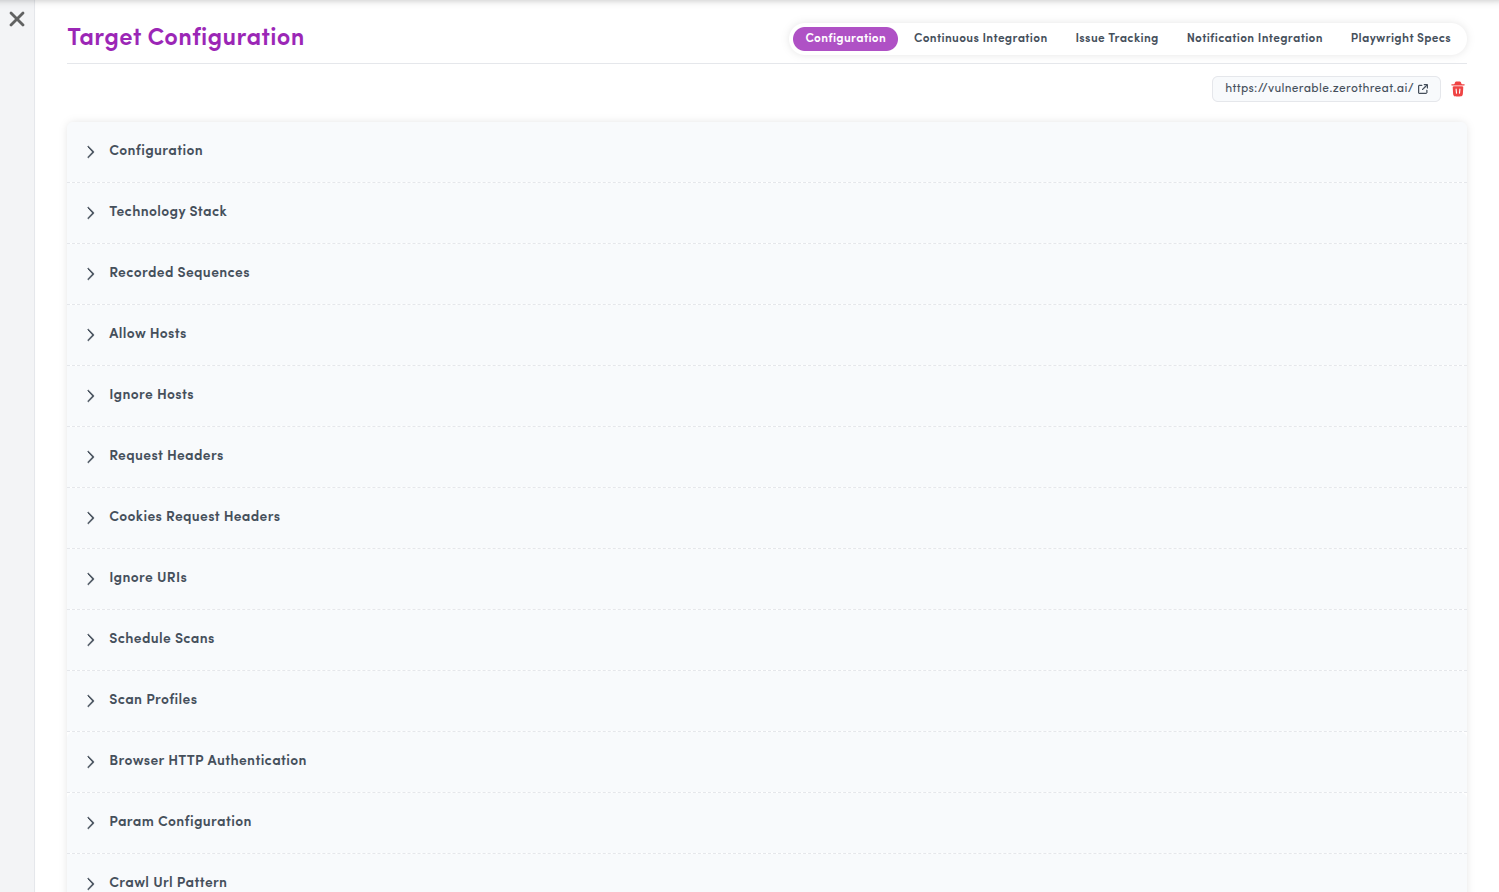
Refer Target Configuration if you need help in configuring.
How to perform a Quick Scan on a target
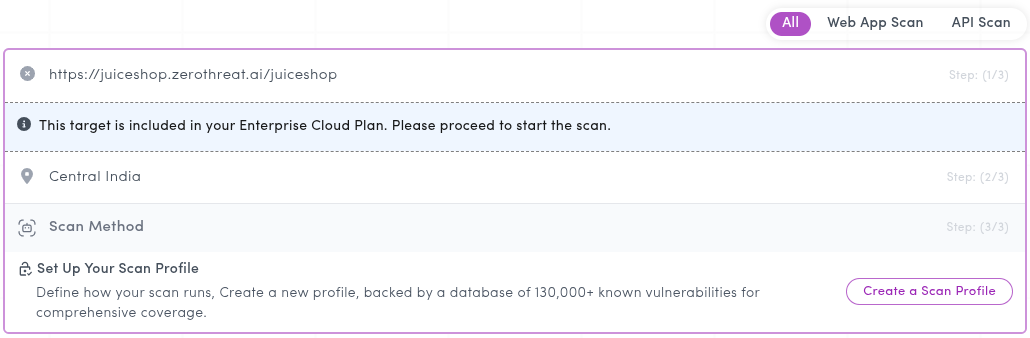
- Enter the URL:
- On the dashboard page, locate the central input field. Enter the URL of the web application or website you wish to scan here.

- Choose a Scanning Server:
- Choose a scanning server from the dropdown menu to specify which server should perform the scan.
Tip: Choosing the Right Scanning Server
Choose a scanning server located near your target application to reduce latency and ensure faster, more accurate scan results.
- Create a Scan Profile:
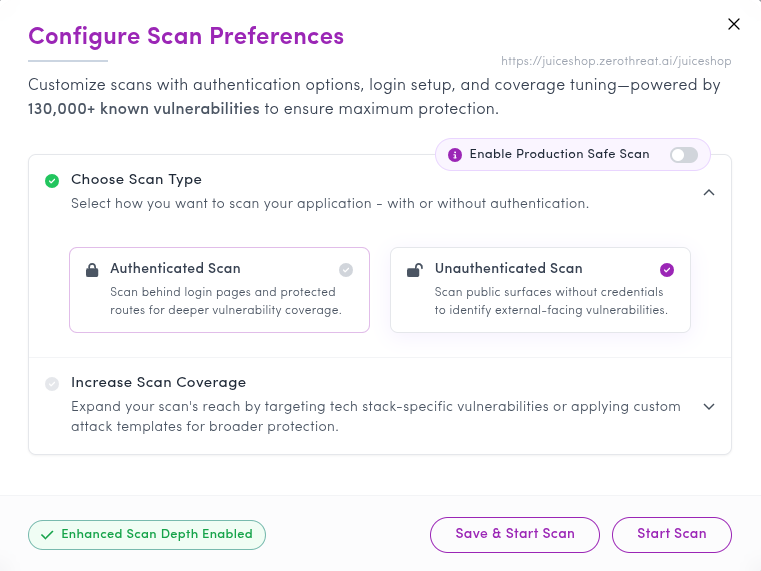
- Click on Create a Scan Profile (
 ) button. This opens the Scan Preferences popup. Here select Unauthenticated Scan option. Since this is a quick unauthenticated scan, no login sequence is required.
- Start the Scan:
- Click the Start Scan (
 ) button to initiate the scan. The scan will begin immediately.
Congratulations! You’ve successfully performed your first Quick Scan.
The Quick scan shown is unauthenticated and can only scan publicly accessible pages.
Ready to dive deeper? Check out our guide on Authenticated Scan for more advanced security testing.